Building Your Airport8 min read
A tour of the builder
The builder is a full-screen editor over live satellite imagery. Everything follows one rhythm: pick a tool from the bottom bar, adjust its options in the left tray, draw on the map, fine-tune in the right rail, save. This page names every part so the other tutorials can point at them.
The layout
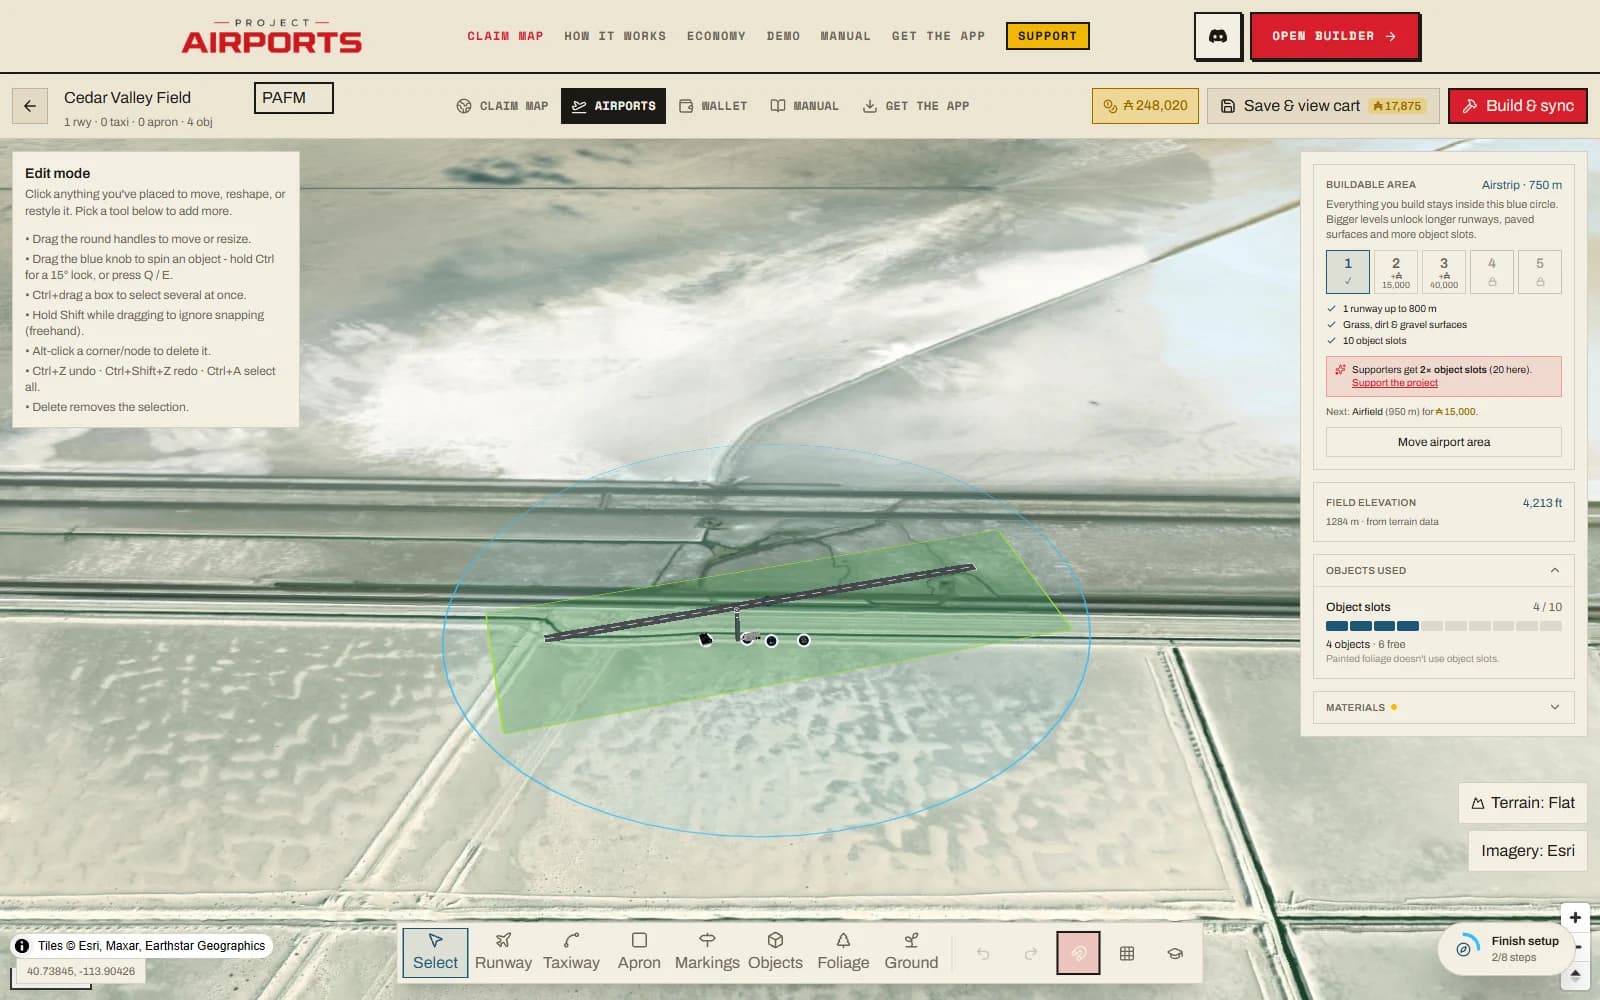
- Top bar - back to your claims, the airport name + identifier fields, live counts (runways · taxiways · aprons · objects), your Aeros balance, and the two big buttons: Save & view cart and Build & sync.
- Bottom build bar - the eight tools plus undo/redo, snapping toggles, and the graduation-cap button that replays the guided tour.
- Left tool tray - options for whatever tool is active; or, in Select mode, the property card of whatever you clicked.
- Right rail - the airport-level cards: buildable area (level + move), field elevation, and collapsible sections for Objects used (the slot meter) and Materials.
The eight tools
| Tool | Key | What it does |
|---|---|---|
| Select | V | Click anything to edit it; drag handles to reshape. |
| Runway | R | Pick a template, then click-drag end to end. Runways. |
| Taxiway | T | Click to drop points; Enter to finish. Taxiways & aprons. |
| Apron | A | Click corners to outline a parking slab; close the loop to finish. |
| Markings | M | Parking spots, hold-shorts, taxi signs, ground text. Ground navigation. |
| Objects | O | Opens the 3D catalogue; click the map to place. Decor & the catalogue. |
| Foliage | P | Paint vegetation with a brush - slot-free. Vegetation. |
| Ground | G | The free ground-cover polygon under everything. Ground cover. |
Plus: Ctrl+Z undo · Ctrl+Shift+Z redo · magnet = snap to features (hold Shift to bypass) · grid snap.
Tool tray & right rail
Left tray
The tray always shows the active tool's options - surface swatches, width sliders, template cards. In Select mode it becomes a property card: click a runway and you get heading / length / width sliders; click an object and you get heading, scale, and height-offset controls. Property cards also carry each element's special controls - a runway's clean-surface checkbox, a taxi sign's live face preview, a ground-cover corner's rounding override.
Right rail
The rail holds airport-wide state. Buildable area shows your level and upgrade prices (levels explained). Elevationshows the height your airport builds at, the leveling and height-adjustment sliders, and each runway's own height (elevation explained). Objects used is the slot meter: hero objects cost 1 slot, small scatter costs ¼, painted foliage is free (Object slots). Materials tracks your per-airport surface inventory (Materials).
Map controls
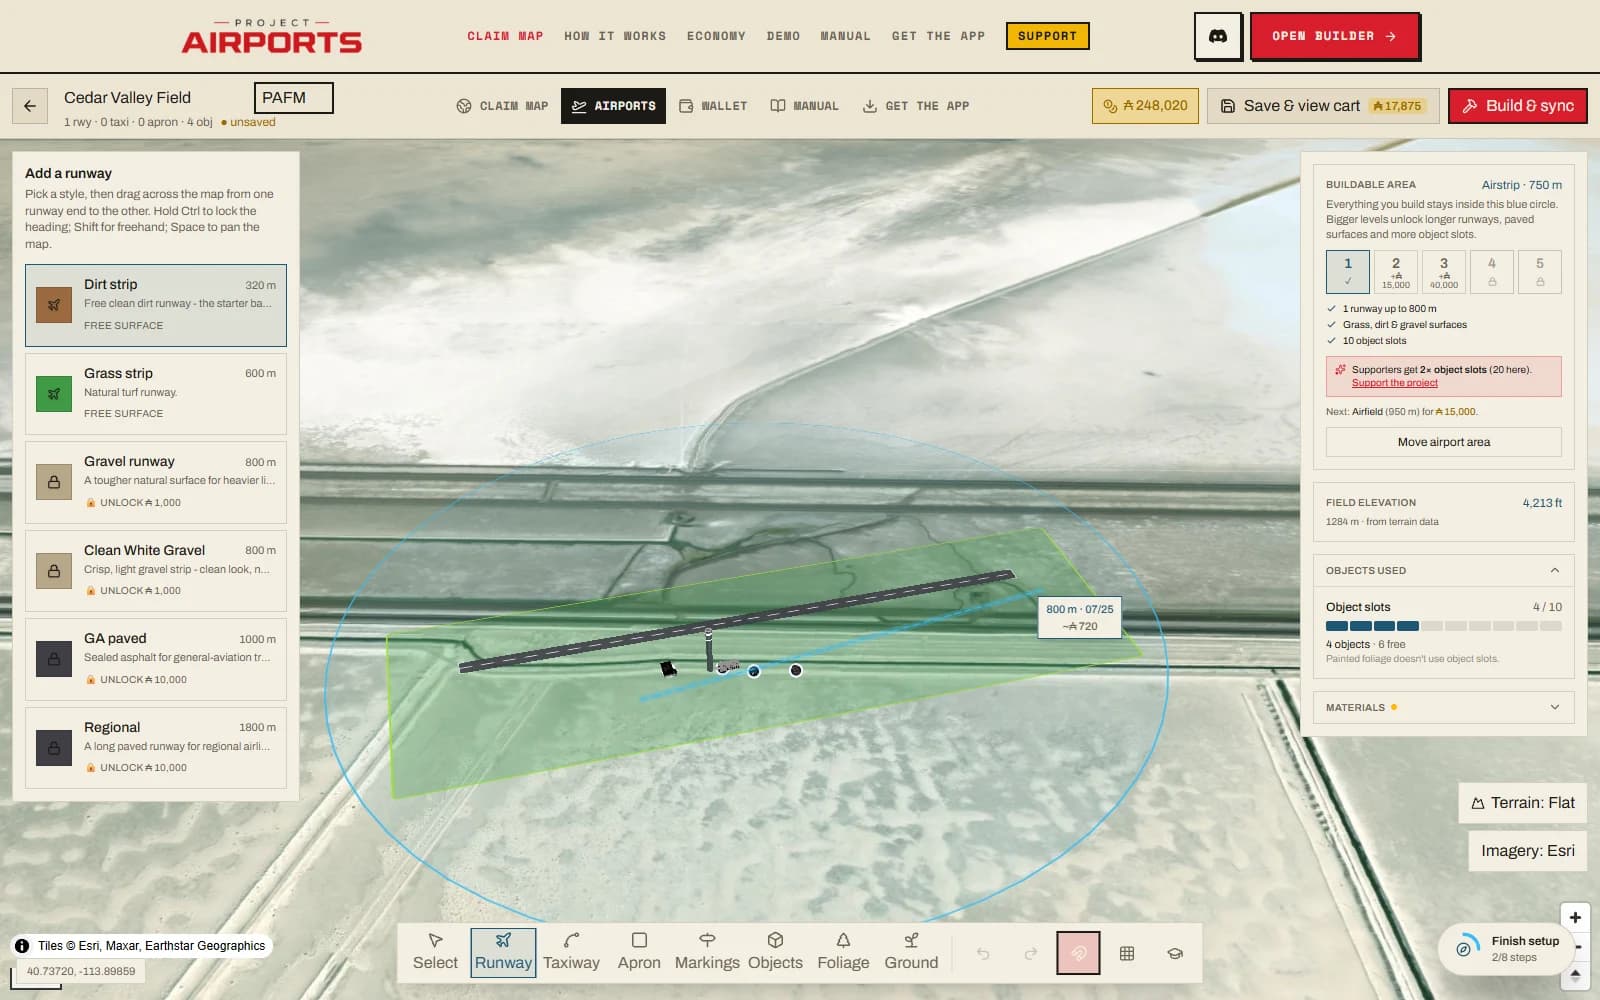
- Terrain toggle - 3D terrain on/off. Handy for judging slopes before you commit a runway.
- Status strip (bottom-left) - cursor coordinates, current snap target, live measurements while drawing, and a note when something was “kept inside the buildable area.”
- Cost tag - while drawing, a floating tag shows dimensions and what the shape will cost before you commit.
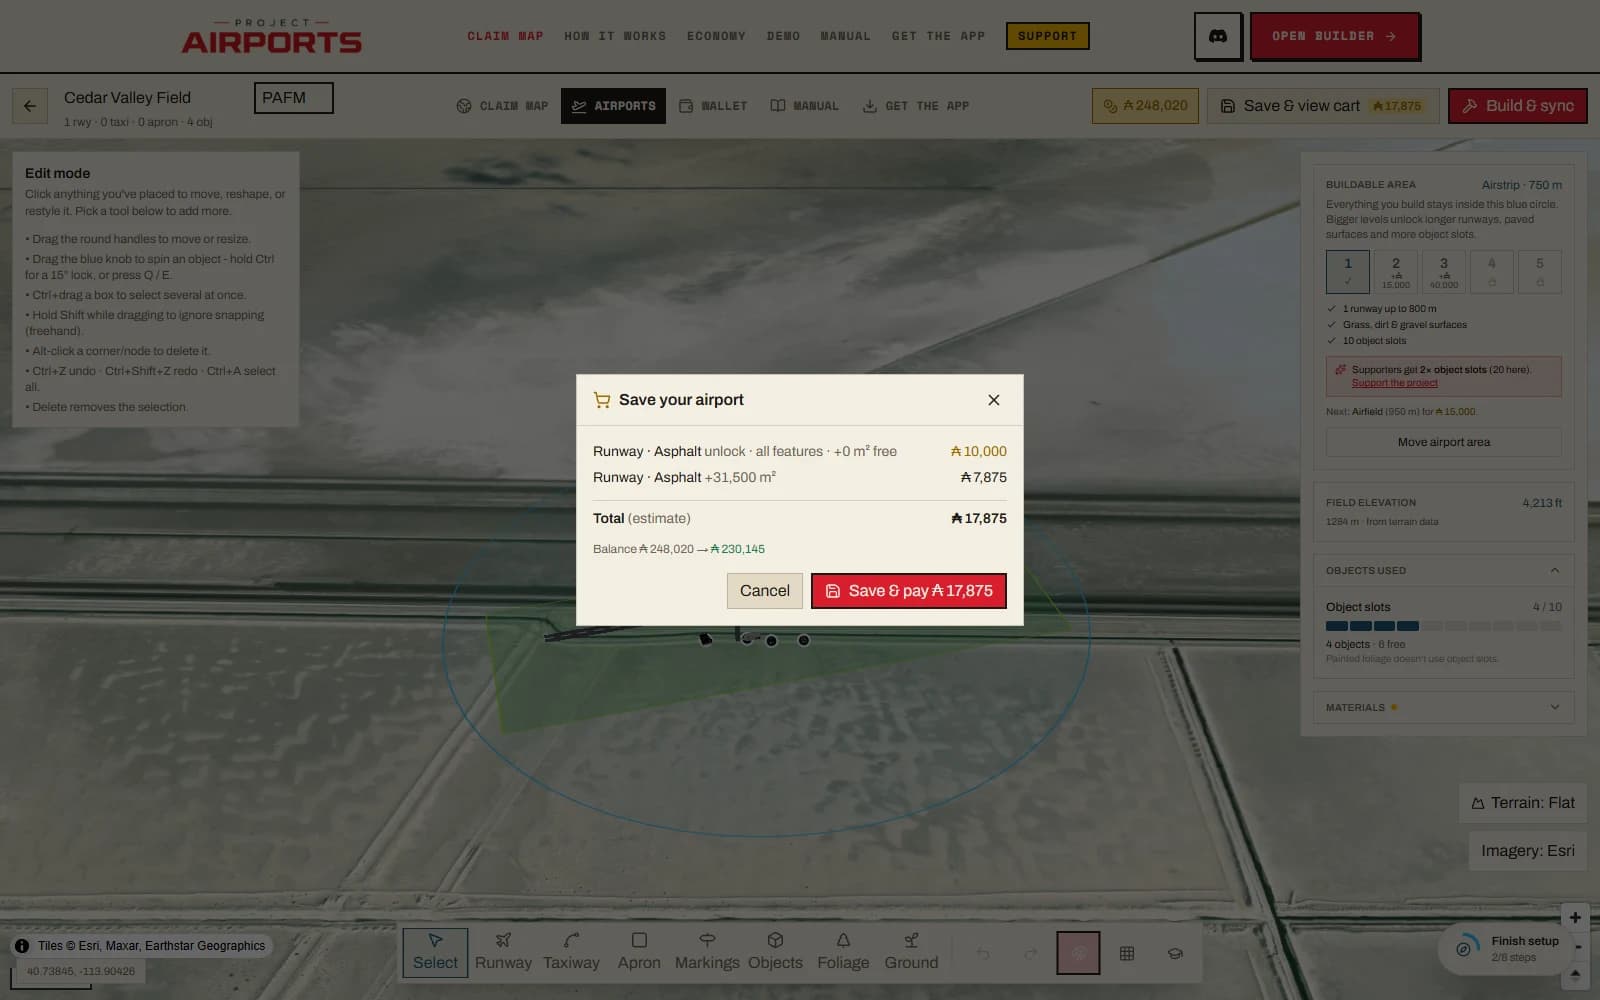
Saving & building
Save & view cartstores your layout immediately (you can't lose work), then opens the cart: an itemised list of anything that costs Aeros - new paved area, unlocked materials, objects bought into your pool - with your balance before and after. Confirm with Save (free) or Save & pay. Build & sync runs the same cart and then queues the compile. The full money-flow is covered in Saving, the cart & builds.