
Getting Started12 min read
Your first airport
This is the whole loop in one sitting: a free account, a free claim, a dirt strip, and your own airport in Microsoft Flight Simulator 2024. Nothing here costs real money, and the starter airport spends almost none of your starting Aeros.
Before you start
You need a free account (sign up here - new accounts currently start with a Ⓐ5,000 welcome grant) and, for step 4, MSFS 2024 on Windows. Steps 1–3 work entirely in the browser, so you can build from any machine and install the sim side later.
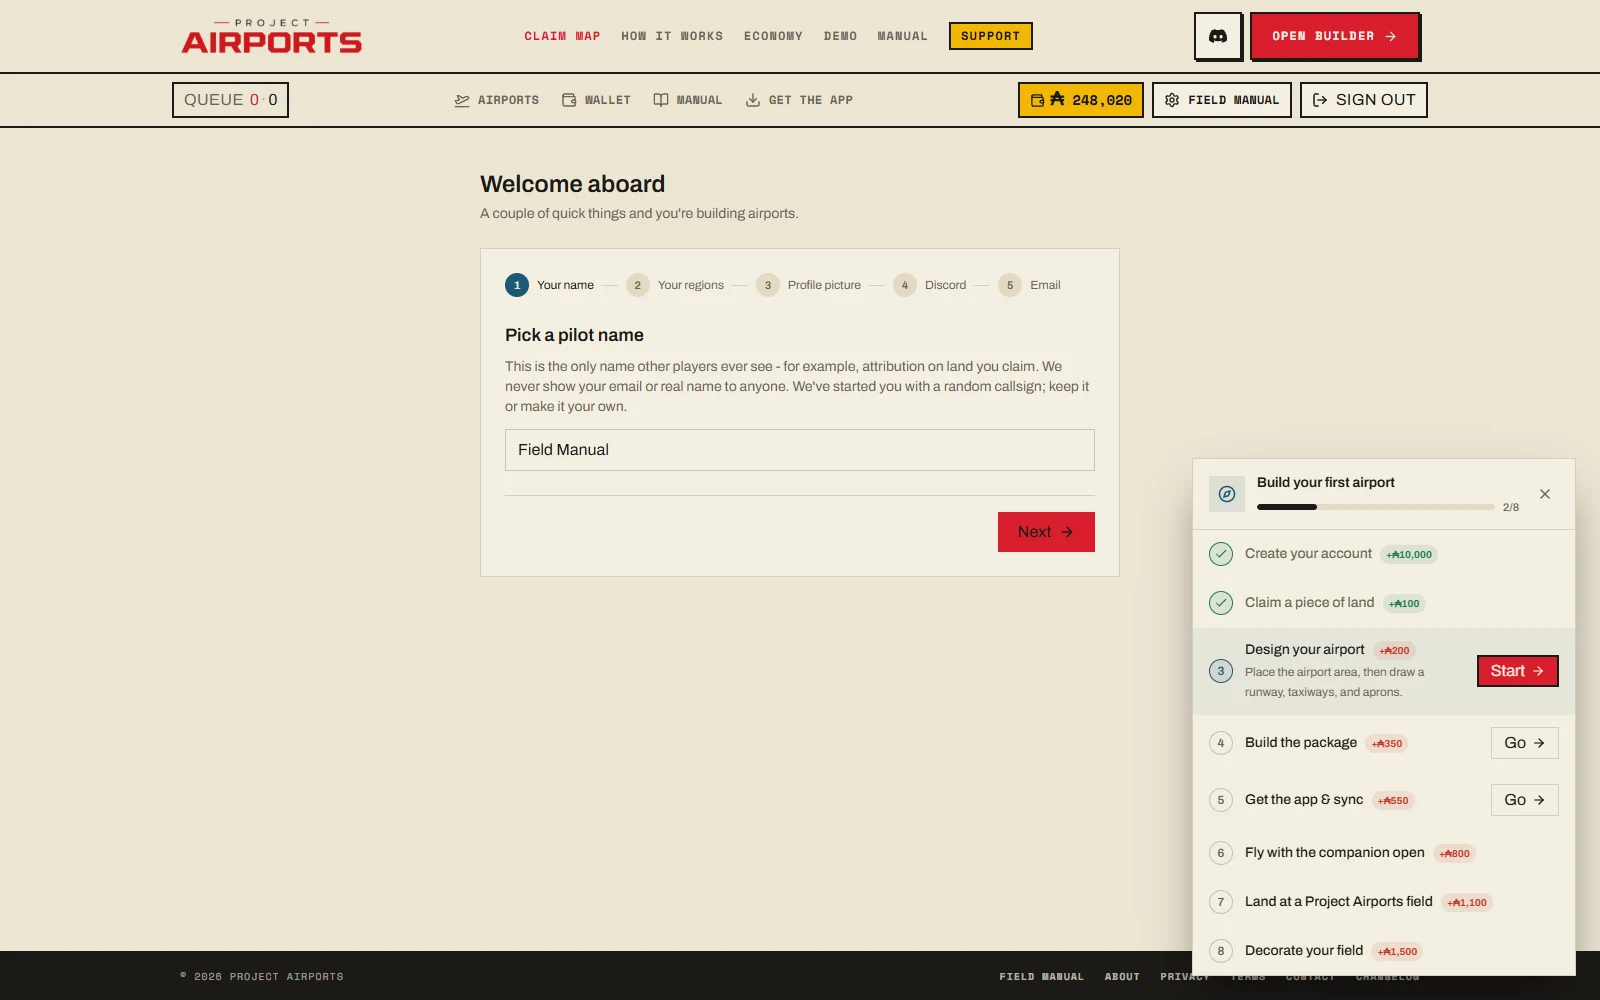
Step 1 - Claim a plot of land
- 1Open the Claim Map
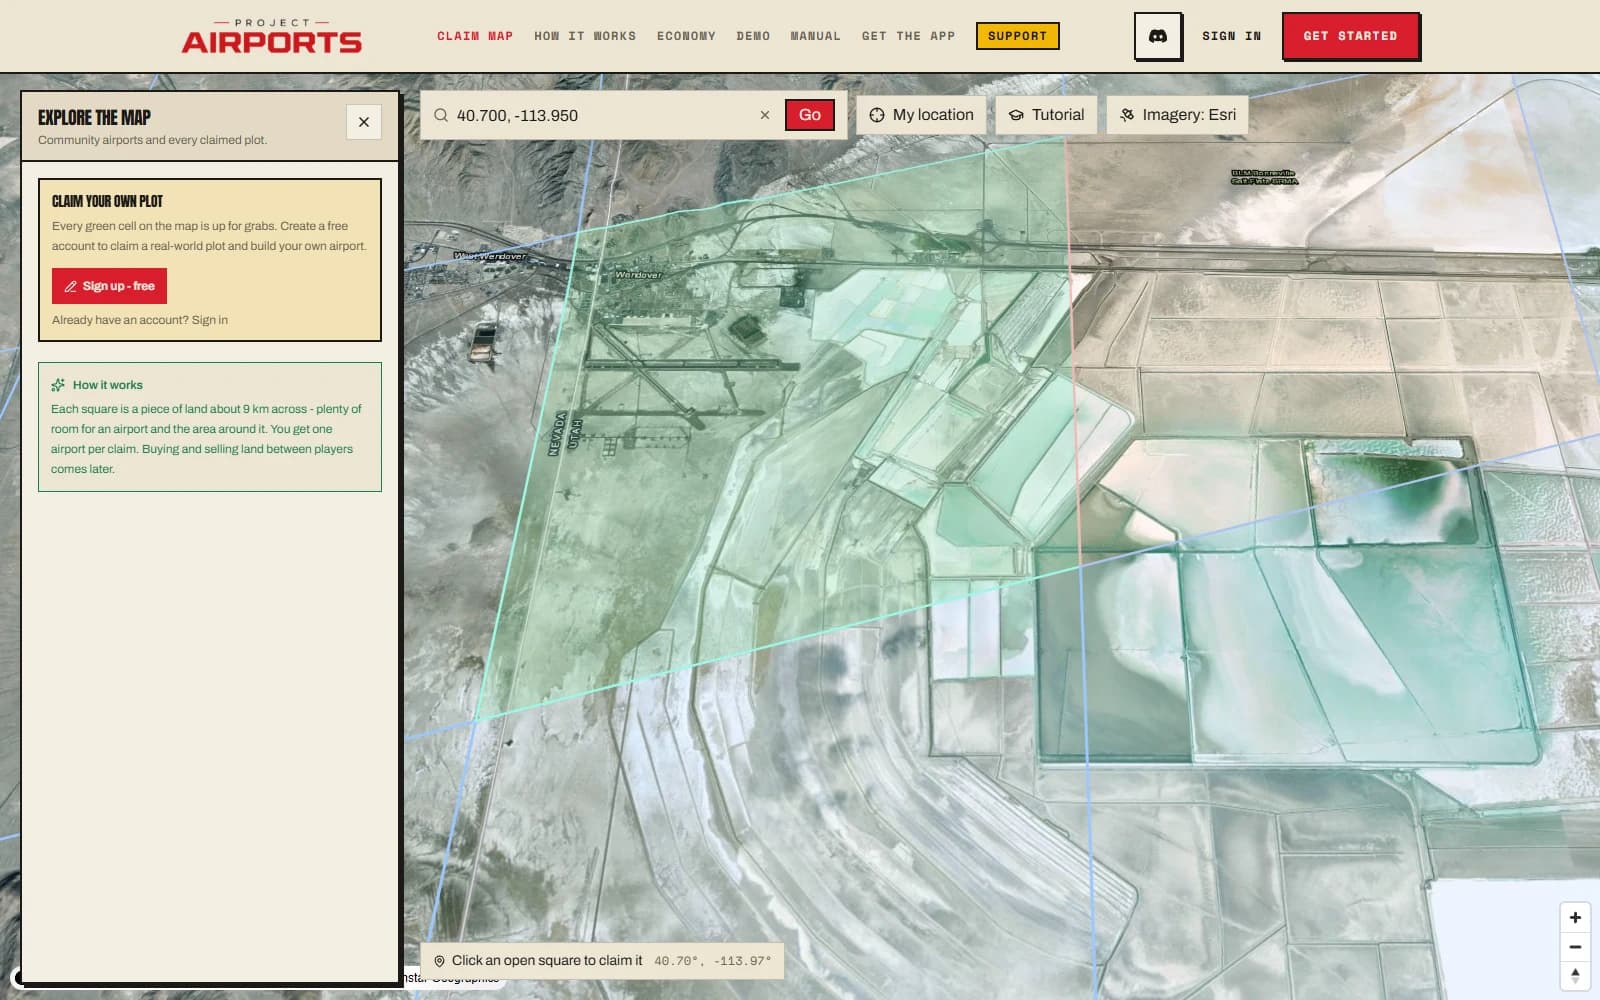
Click Claim Map in the header (or go straight to /explore). It's a satellite globe of the whole planet; claimed land shows as tinted cells.
- 2Find your spot
Zoom toward somewhere you care about - a hometown, a favourite valley, a stretch of coast. Use the search bar to jump to a place or an existing airport. Each claimable cell is roughly 9 km across (~80 km²), which is far more room than any airport needs.
- 3Claim it
Click an empty cell and press Claim this land. The inspector reminds you: your first claim is free. Later claims cost Ⓐ25,000 for the second, Ⓐ50,000 for the third, and so on.
Step 2 - Design the field
- 4Open the builder
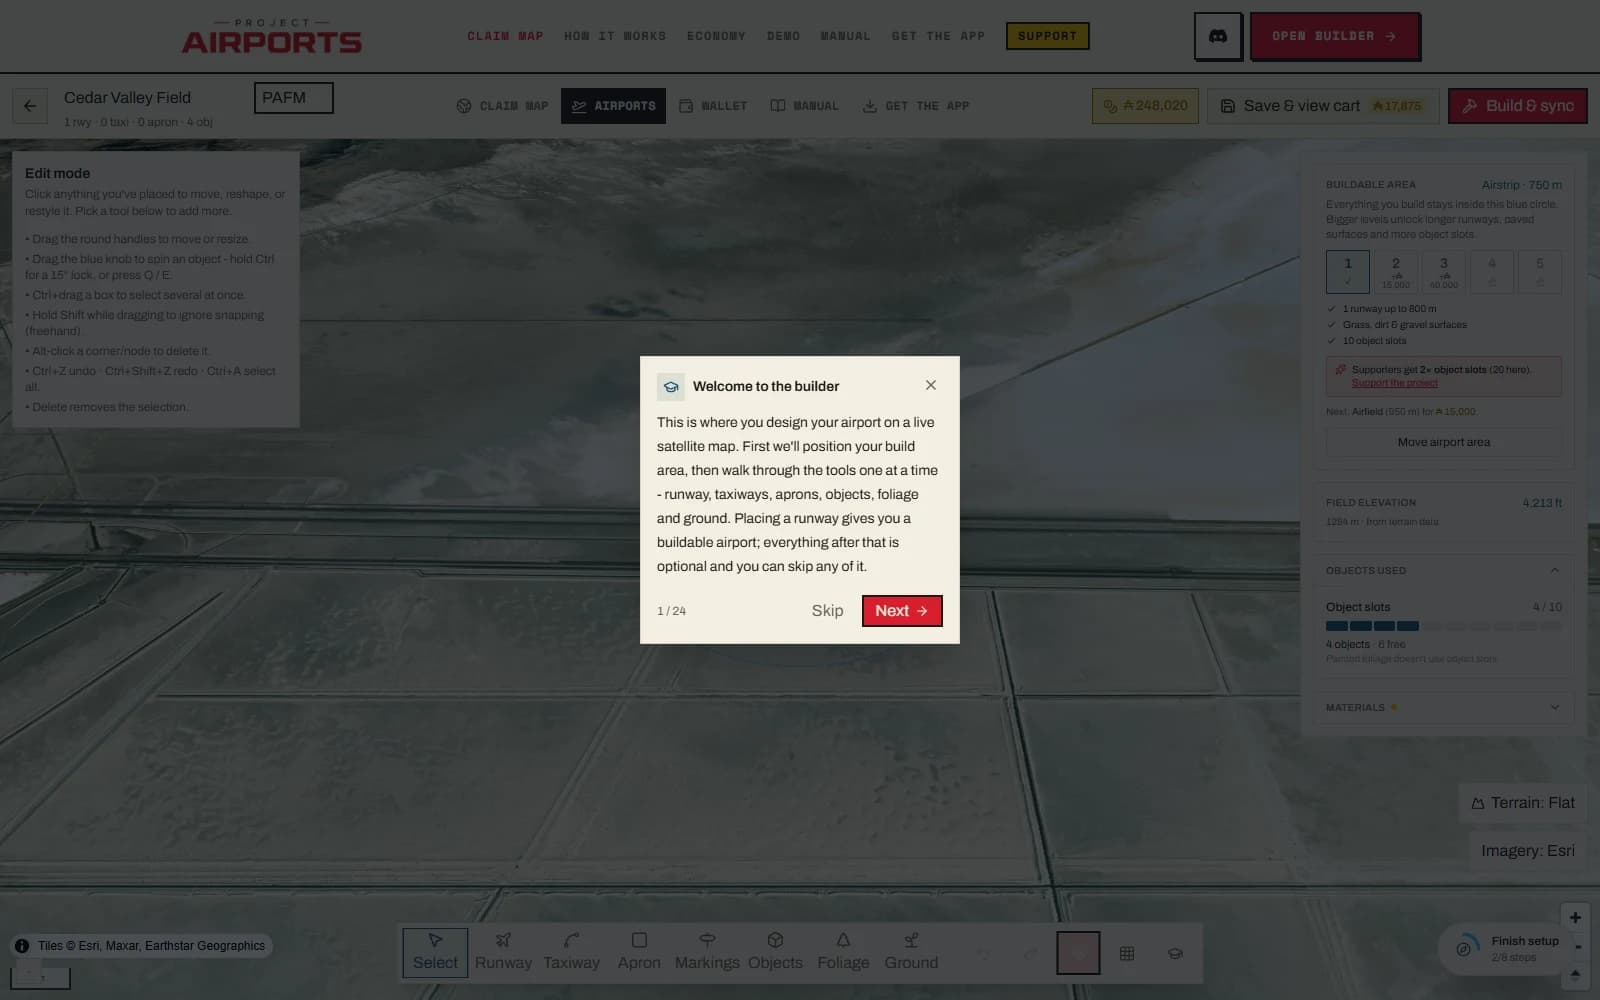
From the claim's panel choose Start building. The full-screen builder opens with a guided tour on your first visit - it walks exactly these steps, so you can follow either one.
- 5Place your buildable area
Click Move airport areain the right rail, then click the map to drop the blue area where the airport should live. Everything you build must stay inside it and on land you own. It may cross a claim edge—the unowned part is clipped—or continue seamlessly into an adjoining cell you also own. The free starter level ("Airstrip") is a 900 m radius - plenty for a first strip.
- 6Draw a runway
Press R (or click Runway in the bottom bar), pick the Dirt strip template, then click-drag across the map from one runway end to the other. Hold Ctrl to lock the heading to neat increments. A dirt runway draws from your free starter allotment - it costs nothing.
- 7Name it
You can type a working name and four-character airport code (letters/numbers) into the top bar while you build. On the first save, a short introduction asks you to confirm both and offers space for the field's story and hashtags. Codes are unique across Project Airports and can't match a real-world airport, so your field never clashes with a stock one. The top-bar name and code remain editable afterward.
- 8Save
Hit Review cart, complete the one-time airport introduction, then review the itemised cart. A free dirt strip shows a total of Ⓐ0 - press Saveand you're done. The story and hashtags can be changed later from Your airports.
Step 3 - Build it
- 9Queue the build
Press Build & syncin the top bar. The same cart opens for a final confirm, then your design goes to the build queue. You'll see Build queued with a link to track status on Your airports.
- 10Wait a few minutes
Builds compile one at a time on real machines (Supporters get queue priority). The status pill on your airport card moves through queued → running → built.
Step 4 - Sync and fly
- 11Install the companion app
Grab it from the download page and sign in with the same account. Full walkthrough: Install the companion app.
- 12Let it sync
The app installs airports only while MSFS is closed- it syncs automatically when the sim closes and nightly. Fresh build + app running + sim closed = your airport lands in the Community folder within moments. The app's Status tab shows “Your airport is built & synced.”
- 13Fly it
Start MSFS 2024, search the world map for your code (or just spawn on the runway), and there it is - your field, in the world, for keeps. Community fields carry a | PAtag on their name, so you can spot them at a glance. Keep the companion app open while you fly and you'll earn your first flight Aeros on the spot.
Where to go next
You now have the whole loop. From here, three good directions: make the field beautiful (decor, vegetation, ground cover), make it operational (parking, signs & hold shorts), or make it bigger (area levels and paved surfaces) - all funded by earning Aeros as you fly.